


Low Carb Pita Bread
I am super excited about our Keto Pita Bread recipe. This recipe is easy to make, and so close to a real pita bread taste, feel, and consistency.
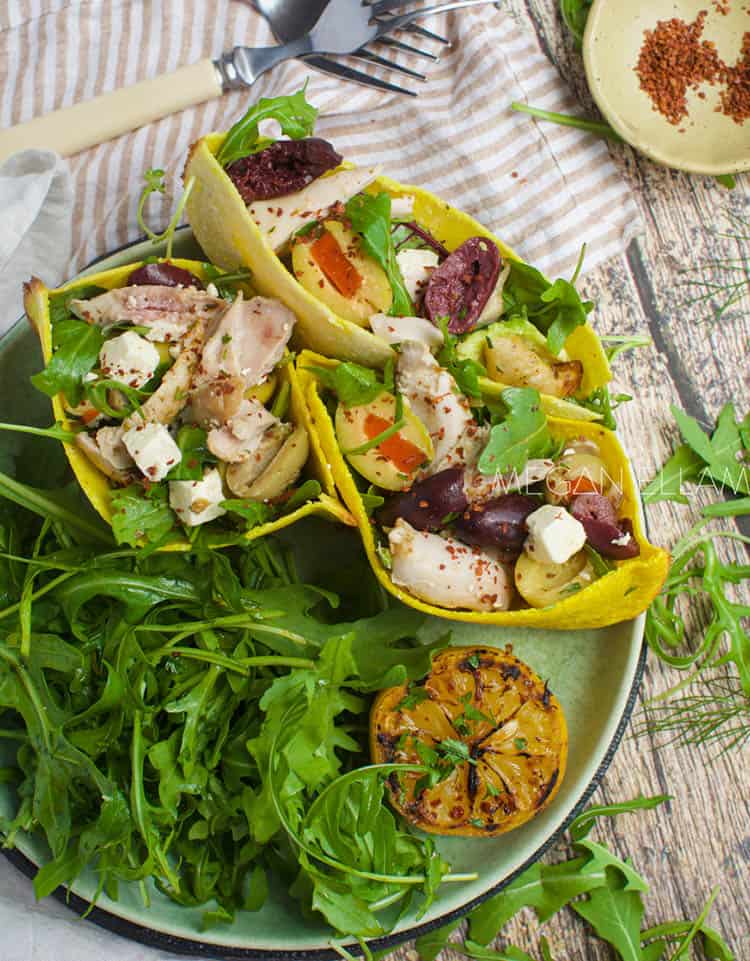
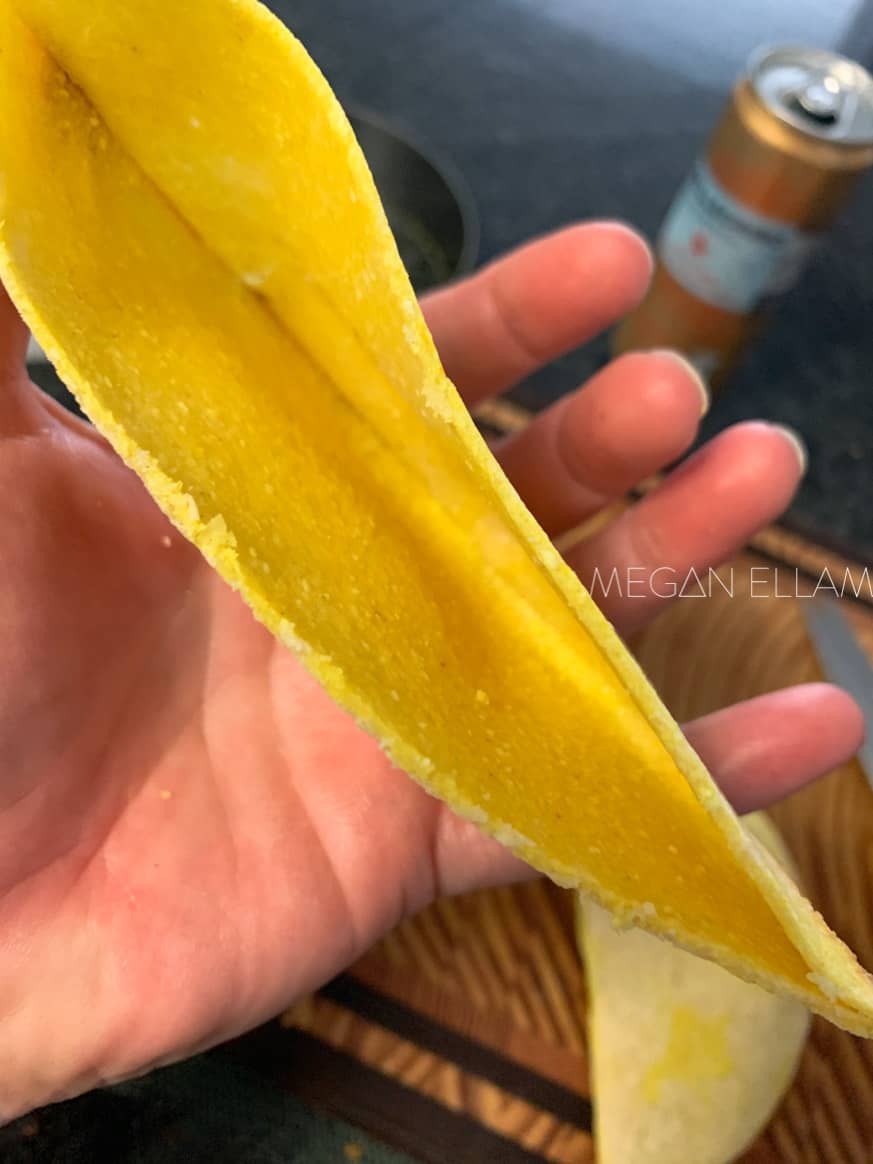
The keto pita pockets are super versatile. Use them as a bread pocket and fill with your favourite fillings. Use them for a keto taco shell, keto pizza base, keto gozleme, keto pastry and so many more uses.
Related Recipes: Keto Flatbread / Keto Tortillas
What You Will Love about this Recipe
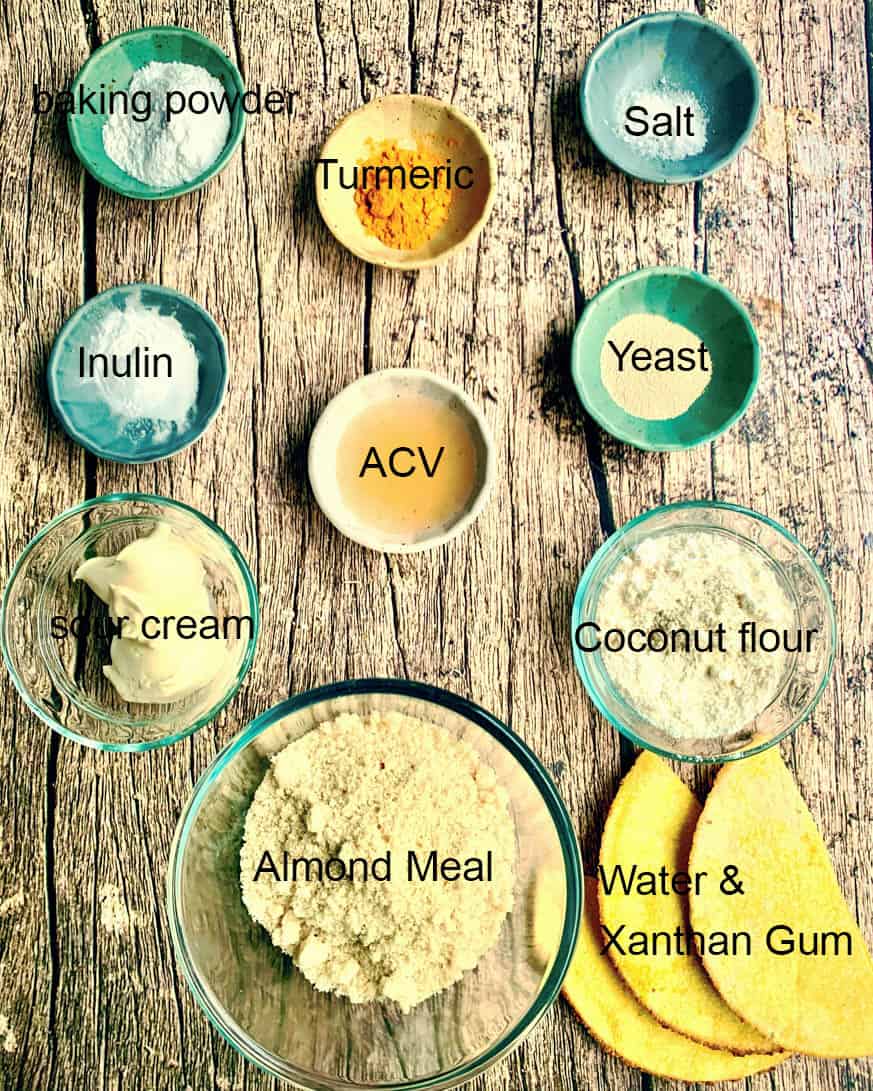
Keto Pita Bread Ingredients
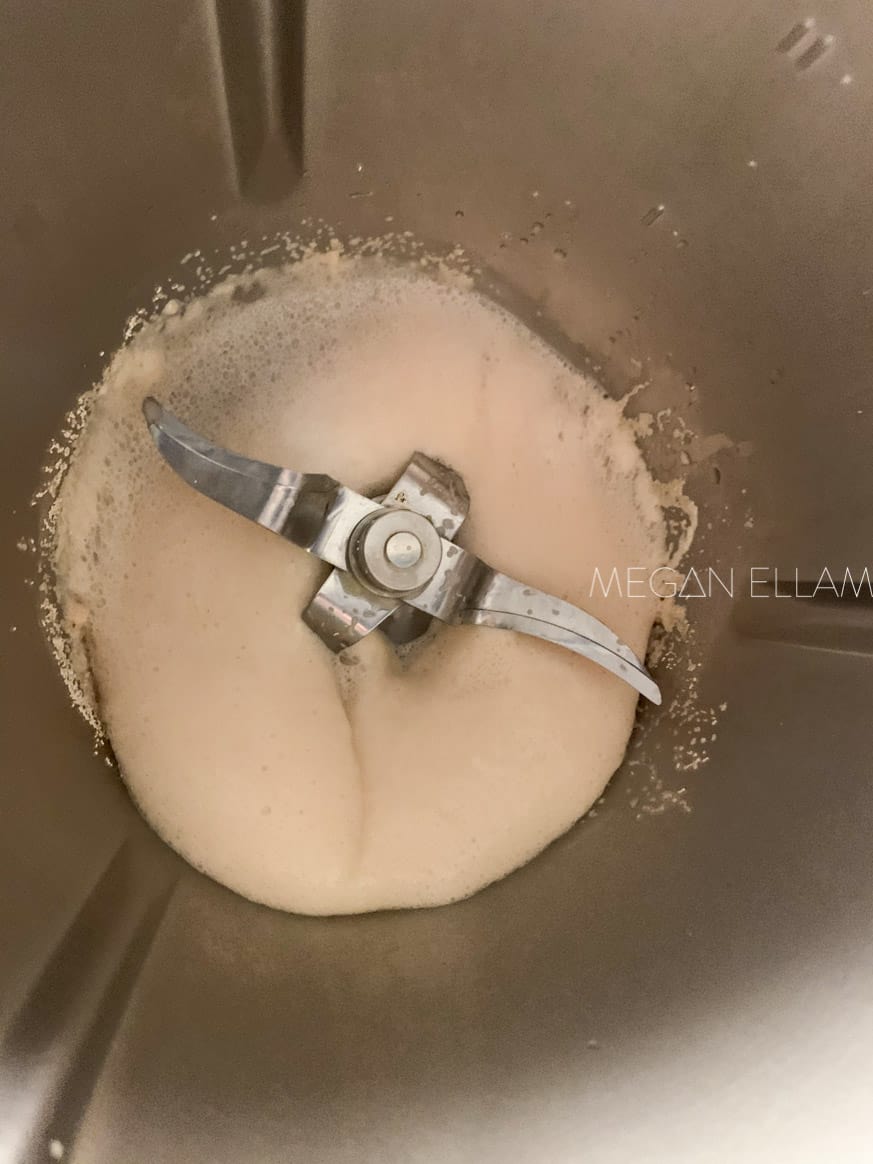
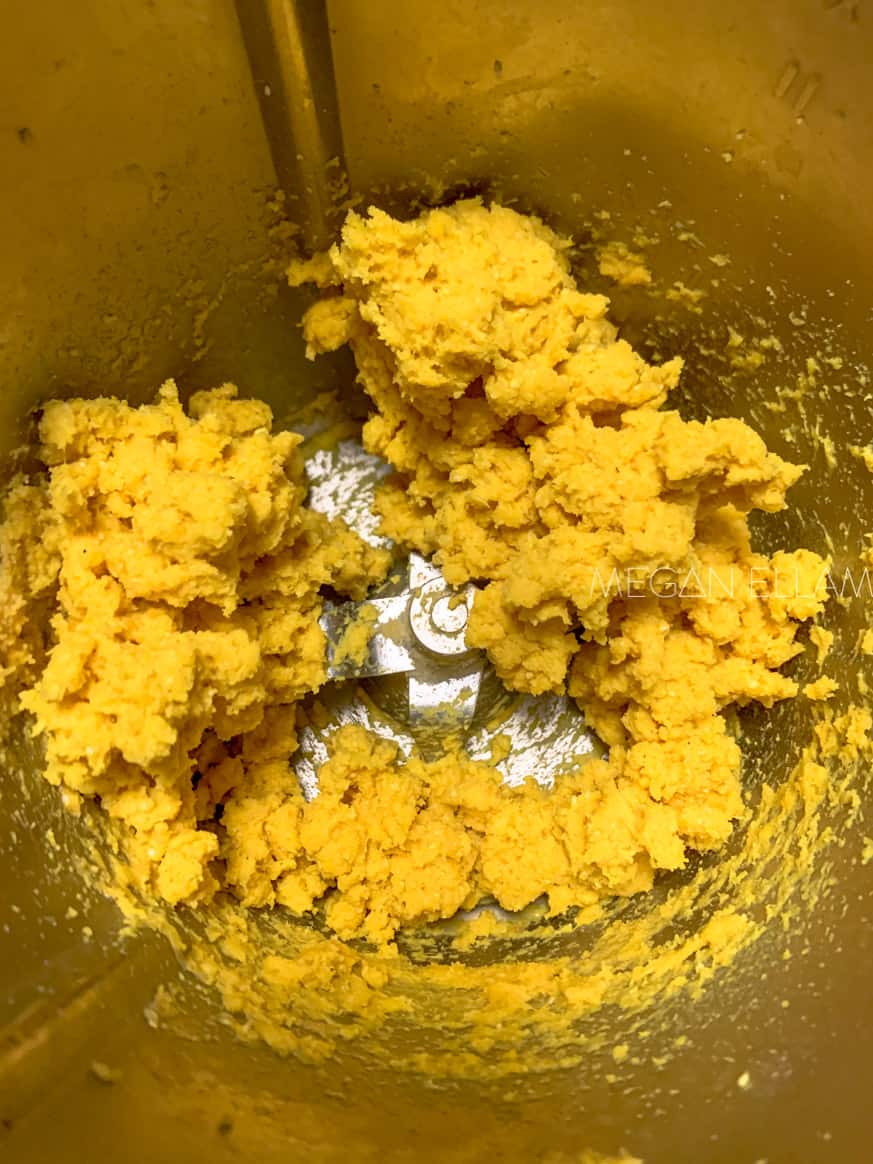
How to Make Keto Pita Bread
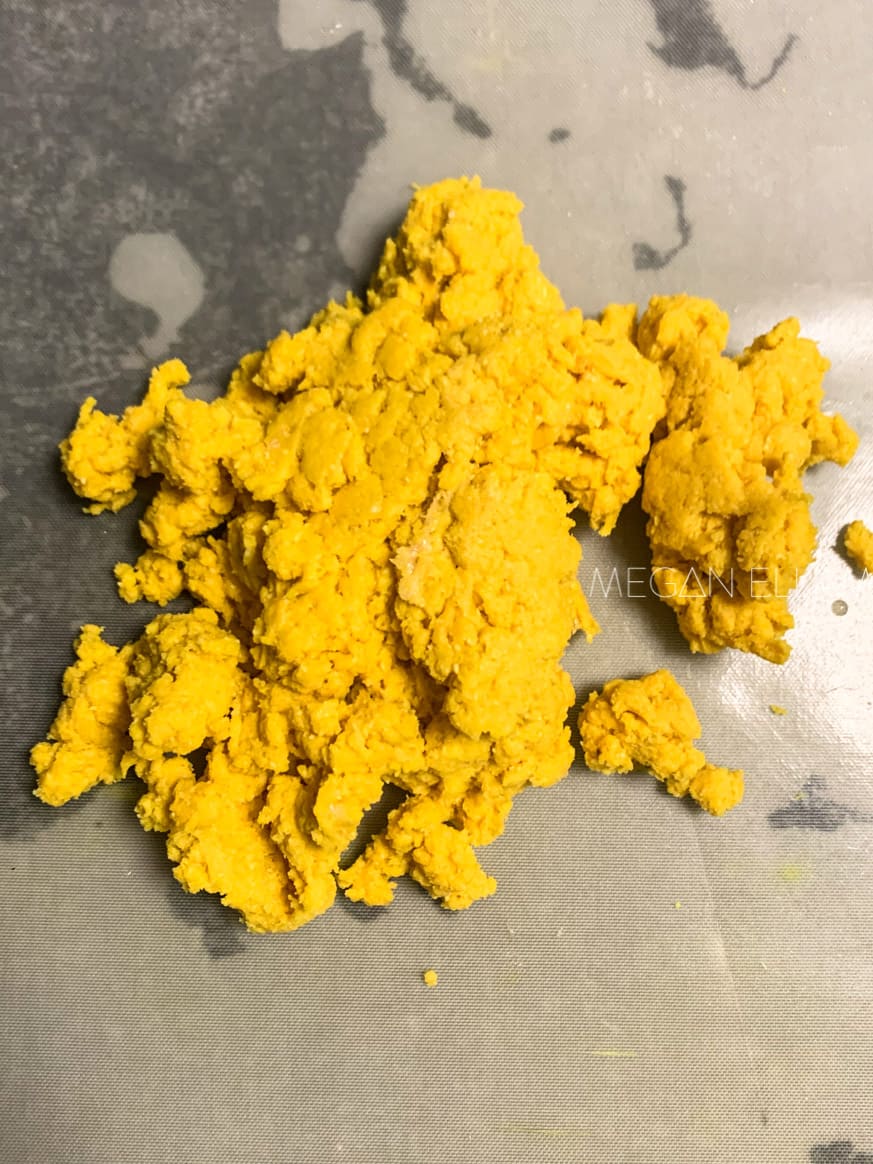
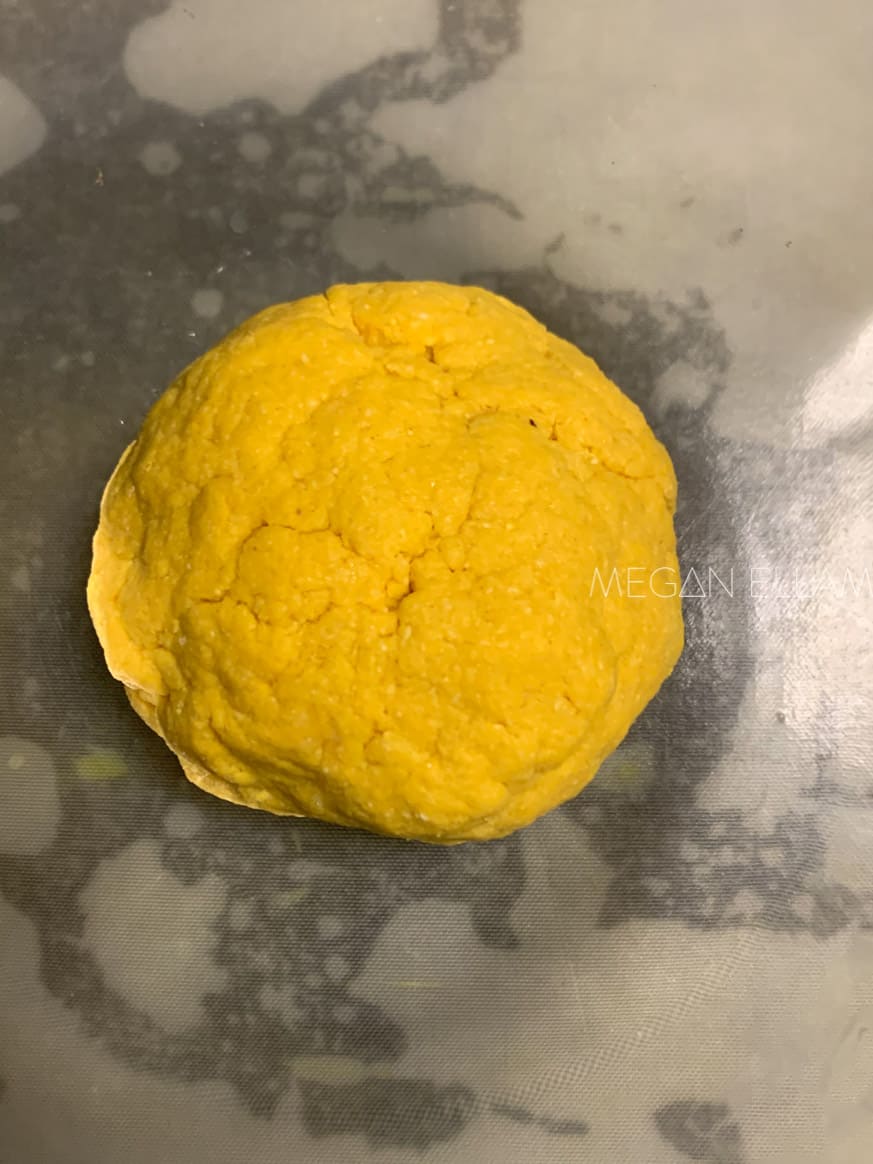
Trust me these keto pita breads are so easy to make. Here are just a few pics on how your mixture should look during the steps.
Plus, I have included a video so that you can watch and see how easy this is.
I promise, no chef hat is needed to make these awesome low carb pitas at home.
Plus, for all our Thermomix fans I have included a very easy Thermomix Keto Pita Bread recipe and steps to make these very easily using your Thermomix.
- There are two ways to cook the pita. My preferred method is baking at 250°C (500°f) fan-forced on a hot pizza stone. Alternatively, you can cook in a hot dry pan. If baking, preheat the oven now.
- Add yeast, inulin and warm water to a small bowl. Stir to combine; cover and leave to activate (15 minutes).
- Place all ingredients including yeast mixture into a food processor or large bowl and mix into bursts until ingredients come together. Remove the dough from the bowl and knead into a smooth ball. Spray a large bowl with olive oil spray and place dough into the bowl. Cover and leave to rise for 1-2 hours in a warm place.
- Cut dough into 12 pieces and roll out between two sheets of baking paper (very thin 1-2mm). Cut into 15-16cm/6 inches rounds. Cover and roll again to achieve a thin round. Place 1 round on top of another and using a bowl press down to seal the pita bread and trim edges away. Carefully remove the pita from the bowl.
- Place a pizza stone into oven, and preheat to 250°C fan/270°C static/500°F.
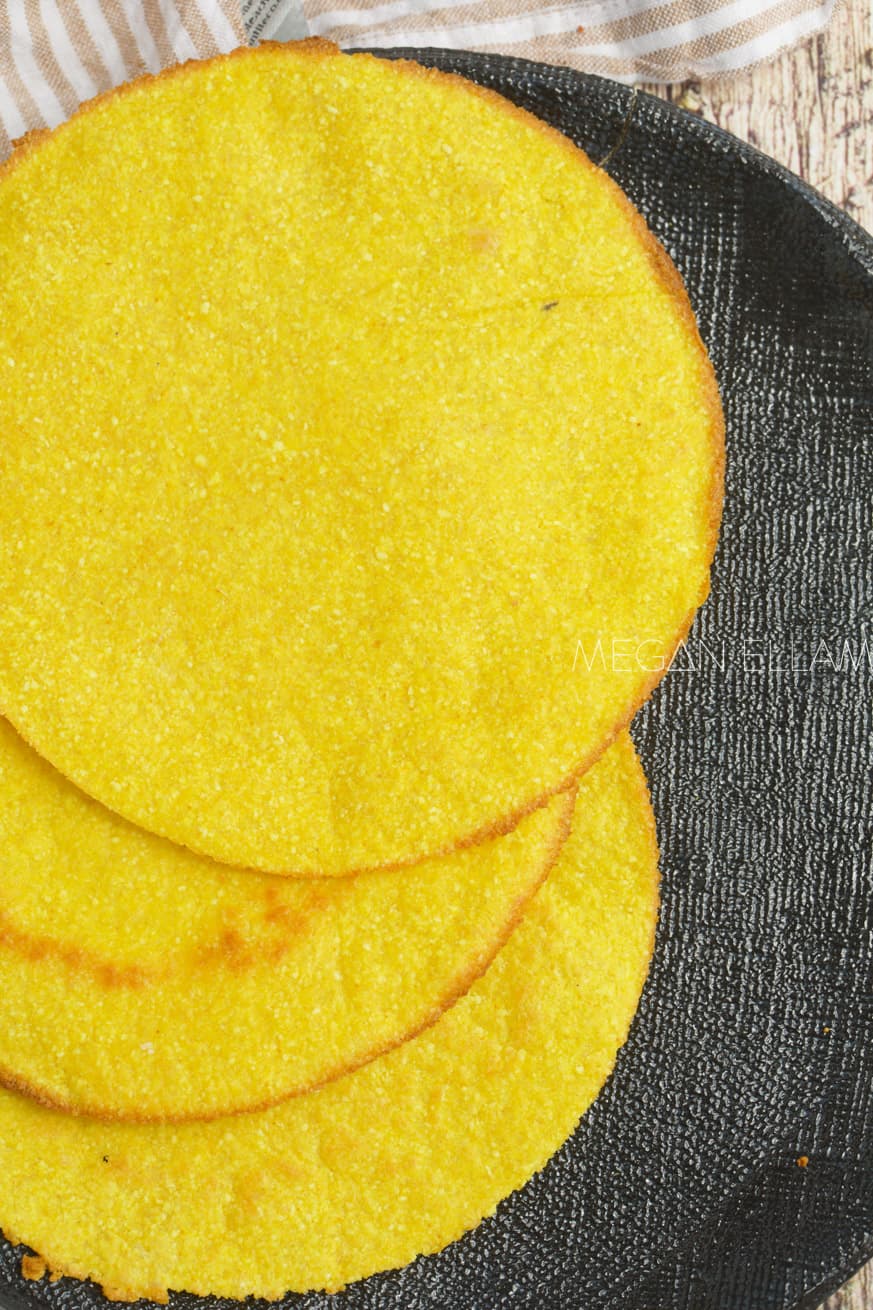
- If baking, place the pita onto the hot pizza stone. Bake 3-4 minutes flipping the pita after 2 minutes. The pita should puff up and be soft. Transfer to a kitchen towel or tortilla basket and cover to keep warm and soft. Alternatively, cook in a moderate temp dry pan 30-40 seconds each side until lightly brown and slightly blistered. Transfer to a clean towel and wrap to keep warm and soft. Repeat with all the dough. Gently split or cut in half to open and fill.
Tools to use Making Your Own Pita Breads At Home
I do have my favorite brands and tools I use when making wraps, pitas, and keto breads. Here are just a few links to my faves.

Next Recipes To Try
Here are just a few more delicious keto recipes to try soon.


RAVING NEW FAN? Subscribe to our newsletter. Join our keto community on Facebook, and Instagram or see all the new easy keto recipes on Pinterest.

Keto Pita Bread
Ingredients
- 2 teaspoons (2 teaspoons) instant dry yeast
- 1 teaspoon (1 teaspoon) inulin or honey
- 2 tablespoons (2 tablespoons) warm water 30g
- 1 cup (1 cup) almond meal 100g
- ½ cup (½ cup) coconut flour 50g
- 2 teaspoons (2 teaspoons) xanthan gum 8-10g
- 1 tablespoon (1 tablespoon) baking powder 15g
- 1 teaspoon (1 teaspoon) salt flakes 5g
- 1 teaspoon (1 teaspoon) turmeric 5g optional
- 1/4 cup (¼ cup) warm water 60g
- 2 tablespoons (2 tablespoons) sour cream 40g
- 1 tablespoon (1 tablespoon) apple cider vinegar 15g
Instructions
CONVENTIONAL METHOD
- There are two ways to cook the pita. My preferred method is baking at 250°C (500°f) fan-forced on a hot pizza stone. Alternatively, you can cook in a hot dry pan. If baking preheat the oven now.
- Add yeast, inulin and warm water to a small bowl. Stir to combine; cover and leave to activate (15 minutes).
- Place all ingredients including yeast mixture into a food processor or large bowl and mix into bursts until ingredients come together. Remove the dough from the bowl and knead into a smooth ball. Spray a large bowl with olive oil spray and place dough into the bowl. Cover and leave to rise for 1-2 hours in a warm place.
- Cut dough into 12 pieces and roll out between two sheets of baking paper (very thin 1-2mm). Cut into 15-16cm/6 inches rounds. Cover and roll again to achieve a thin round. Place 1 round on top of another and using a bowl press down to seal the pita bread and trim to edges away. Carefully remove the pita from the bowl.
- Place a pizza stone into oven and preheat to 250°C fan/270°C static/500°F
- If baking, place the pita onto the hot pizza stone and bake 3-4 minutes flipping the pita after 2 minutes. The pita should puff up and be soft. Transfer to a kitchen towel or tortilla basket and cover to keep warm and soft. Alternatively, cook in a moderate temp dry pan 30-40 seconds each side until lightly brown and slightly blistered. Transfer to a clean towel and wrap to keep warm and soft. Repeat with all the dough. Gently split or cut in half to open and fill.
THERMAL METHOD
- There are two ways to cook the pita. My preferred method is baking at 250°C (480°f) fan-forced on a hot pizza stone. Alternatively, you can cook in a hot dry pan.
- Add yeast, inulin and warm water to mixer; Heat 3 min/37°C/ speed 2. Leave to rest with lid on for 5 minutes.
- Add all remaining ingredients to mixer; mix 7 sec/speed 3 then knead 3 min/dough setting. Remove dough from mixer and knead into a smooth large ball. Spray a large bowl with olive oil spray and place dough into bowl. Cover and leave to rise for 1-2 hours in a warm place.
- Place a pizza stone into oven and preheat to 250°C fan/270°C static/500°F
- Cut dough into 12 pieces and roll out between two sheets of baking paper (very thin 1-2mm). Cut into 15-16cm/6 inches rounds. Cover and roll again to achieve a thin round. Place 1 round on top of another and using a bowl press down to seal the pita bread and trim to edges away. Carefully remove the pita from the bowl.
- If baking, place the pita onto the hot pizza stone and bake 3-4 minutes flipping the pita after 2 minutes. The pita should puff up and be soft. Transfer to a kitchen towel or tortilla basket and cover to keep warm and soft. Alternatively, cook in a moderate temp dry pan 30-40 seconds each side until lightly brown and slightly blistered. Transfer to a clean towel and wrap to keep warm and soft. Repeat with all the dough. Gently split or cut in half to open and fill.
Video
Notes
Instant dried yeast is available at the supermarket. To activate it you do need inulin, honey or sugar. Sugar alcohols (including Monk Fruit) do not activate yeast.
Inulin is available in most health food stores, low carb suppliers and iHerb.
Almond meal or almond flour can be used. A nut free substitute that works is sesame flour. Alternatively, lupin flour does work as well.
Coconut flour is not something I recommend swapping. Chia flour will make the dough very soft and too hard to handle/
Xanthan gum is required to hold the pita together.
Turmeric is optional but delicious!
Sour cream can be replaced with baked and mashed pumpkin or cauliflower. Be sure to squeeze out any excess moisture.
Apple cider vinegar is a must as it helps to strengthen the dough and give a great consistency to the pita breads.
CONSTRUCTING
I use the 15cm cake cutting ring /6 inches I found on Amazon to shape the pita.
Leave the dough to rise for 2 hours. Ensure you roll between two sheets of baking paper and pay close attention to my lack of touching the dough through the construction phase. Watch the video in the blog post for all tips and easy construction.
ROLLING, FREEZING, STORAGE AND SHELF LIFE
Roll the dough between two sheets of good quality parchment paper.
If the dough is sticky leave it to rest. However, it should never be sticky if the recipe has been followed using the recommended ingredients.
The dough or finished cooked pitas can be frozen.
The pita or dough can be stored in a ziplock bag in the fridge for up to 5 days.
It is best to store the cooked pita pocket breads in the fridge. If left at room temperature may develop mould in a short time frame.
Your Own Notes
Nutrition
38 responses to “The BEST Keto Pita Bread”
-

Thank you for this wonderful recipe! Delicious, indeed! I did try a different procedure which worked well for me. I happen to have an 8″ tortilla press, so I weighed my dough ball and divided by 10 to see how much each portion should weigh. I weighed each of the 10 portions, and pressed the dough between the small round non-stick paper sheets that work for the press: pressed, turned 180 degrees, pressed, turned 90 degrees and pressed a third time. The results were nearly perfect circles and just the right size for my 6″ bowl to seal the edges! I left the paper on top while sealing the edges, so the pita did not stick to the bowl, and peeled off the last paper when placing them on the pizza stone. Success! 😉-
Yay! That is so good to hear they worked for you Donna. Thanks for all the extra details and taking the time to leave a review.
-
-
what a delicious and genius recipe! We love how health and satisfying it is.-
Thanks so much Nancy
-
-
This is a genius recipe! I loved those low carb pita pockets!-
I like genius haha
-
-
I’m s glad I found this recipe. These pitas look amazing. I will definitely make them.-
Sweet. ENjoy!
-
-
This keto pita bread was amazing! It was so easy to make and delicious!-
So happy you enjoyed them Kayla
-
-
Being gluten-free and (mostly) eating low carb, these pita pockets are perfect for me! I love the colour from the turmeric and the texture is perfect.-
Yay!
-
-
This is honestly such a smart recipe – I’m so impressed by the texture you’re able to achieve despite the lack of flour! Much of my family are GF so it’s always great to see people coming up with creative recipes that are suitable for GF eaters – extra bonus that it’s Keto too!-
So happy you’re happy Maya
-
-
I cant believe this pita bread is amazing, its easy to make and bonus that its keto.-
Absolutely!
-
-
Hi I want to confirm that 1 tablespoon is needed in the recipe. Seems like alot!
Thanks
-
If you are referring to baking powder Vince then yes. Just make sure it is a double acting non-bitter baking powder first.
-
-
I love to make my own pita bread too! Glad to see your recipe, I will make this.-
I hope you enjoy it Jean.
-
-
Sensational stuff! I was surprised at how easy they were to make but having made multiple recipes of yours I wasn’t surprised one bit on how DELICIOUS they were!!-
So glad you enjoyed them Gavin.
-
-
I couldn’t believe how well this pita bread turned out!! It was soft and held all of the filling I put in it perfectly!-
So good to hear Anjali. Thanks for taking the time to come back and review.
-
-
This was so easy and yummy. Thank you!!-
You are very welcome Kristen.
-
-
Loving these keto pita pockets!-
Yay! So happy Keri!
-
-
My friend is starting to eat keto, so this will be perfect to make for her!! Thank you so much for the recipe 🙂-
Pass it on Cathleen. We all love to find new keto recipes that work well.
-
-
Love the flavour and texture. Well worth the effort.
-
These pita breads were so easy to make and tasted great!! We even stuffed them with cheese and used them as a an alternative to buns for our burgers last night! Thanks Megan!! Xx -
Wow these keto pita pockets are seriously easy to make and delicious with whatever you fancy in them. I had a ham and cheese pocket and was like a kid in a candy store. Soo good. I also tried taco pockets and the family totally loved them. I see so many easy meals using these pita pockets . This recipe is genius and at only 2 net carbs it fits into my day perfectly.
Thanks Megan you have another winner of a recipe here -
This pita bread is amazingly delicious and easy to make. Megan Ellam is a genius. -
So easy to make and so versatile. Stores well in the fridge and maintains its foldability.
Brilliance as we have come to expect from Magic Meg from Mad Creations 🙂
Leave a Reply